Warm-Up
2x
5 Wall Walk-Up
10 Seated Dumbell Press
Skill
HSPU
You want me to do WHAT?! A push-up, upside down?
And you thought push-ups were already hard enough…
HSPU’s can be intimidating at first. But if we take a step back and strip down the movement, get comfortable with being upside down, and work on strict HSPU’s before kipping… it can become a movement that you truly learn to love.
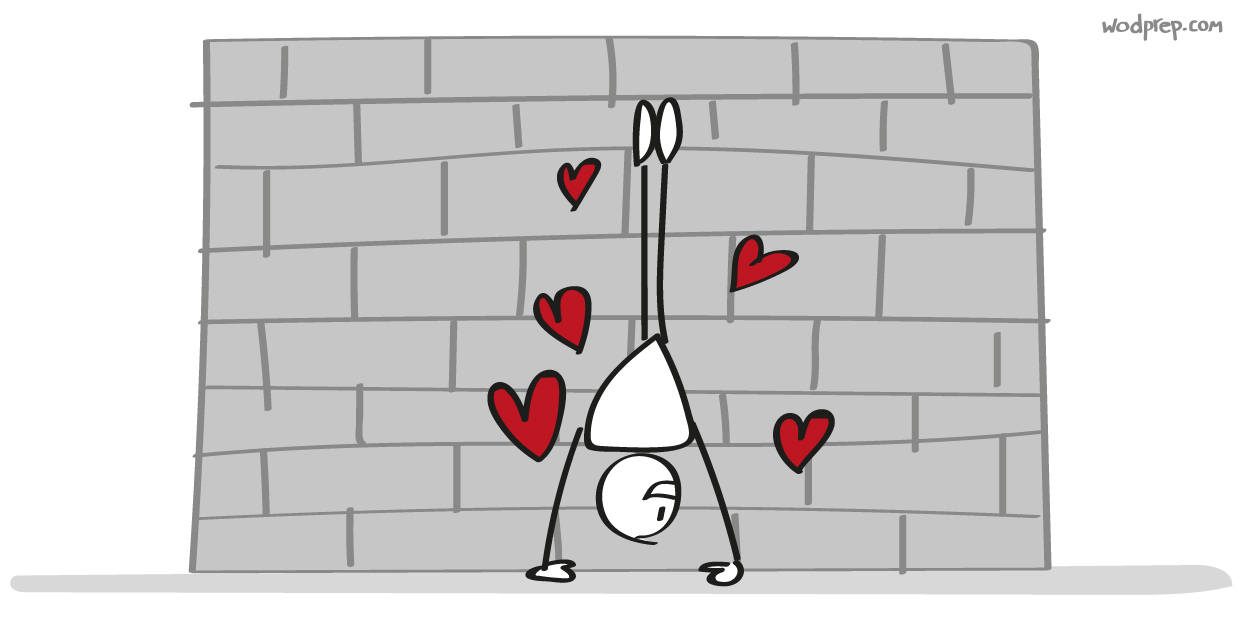
Along with most CrossFit gymnastic movements, it’s pretty crucial to develop the strict version of the HSPU before you develop the kipping version. If you try to learn kipping HSPU’s first, you can end up putting a ton of stress on your cervical spine since you haven’t developed the strength yet to support yourself upside on the mat. Then add the compression and explosion upwards in the movement, and it can be a bit dangerous to try prior to getting strict HSPU’s first.
So, how can we develop strict them?
Let’s walk through some HSPU drills.
#1. Box HSPU’s
First, I recommend getting off the wall altogether and starting with a box. Box HSPU’s are a great progression towards eventually getting on the wall.
But remember, form is still super important here.
Correct form: Put your feet on the edge of the box, and walk your hands in so that your torso is as vertical as possible, with your head neutral, looking forward towards the box. From there, lower down, touch your head to the floor and push back up.
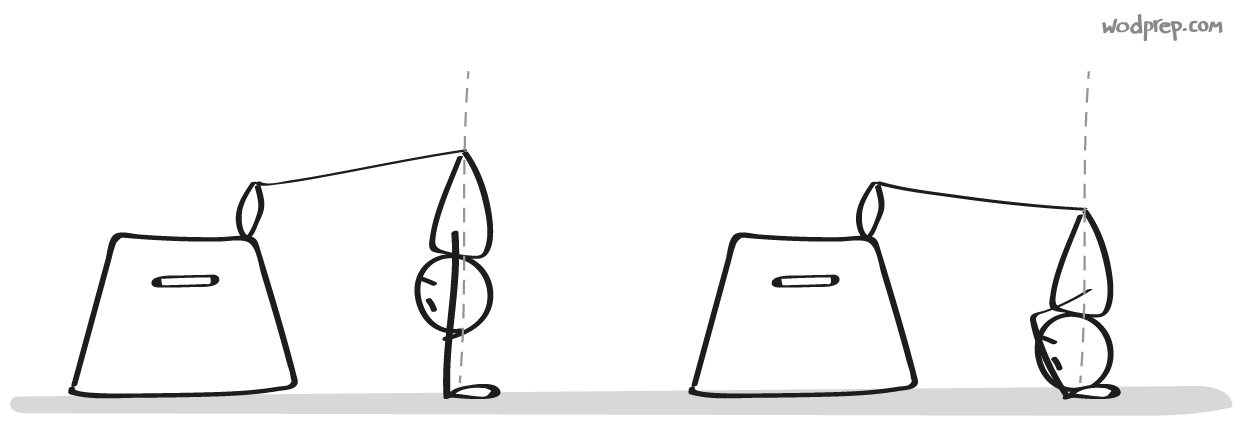
Scaling for this movement could mean adding a mat under your head to reduce the range of motion, or walking your hands out a bit so that you aren’t quite as vertical.
#2. Seated Dumbbell Press
Another great drill to help you work towards strict HSPU’s – that can be supersetted with box HSPU’s – is a seated dumbbell press.
Start sitting on the ground, with your legs straight out. Have a set of dumbbells that are a fairly challenging weight, and then do a press with them from your shoulders. Keep your core tight, and lock the dumbbells out at the top. Control the descent back to your shoulders (don’t just slam them back down) and repeat.
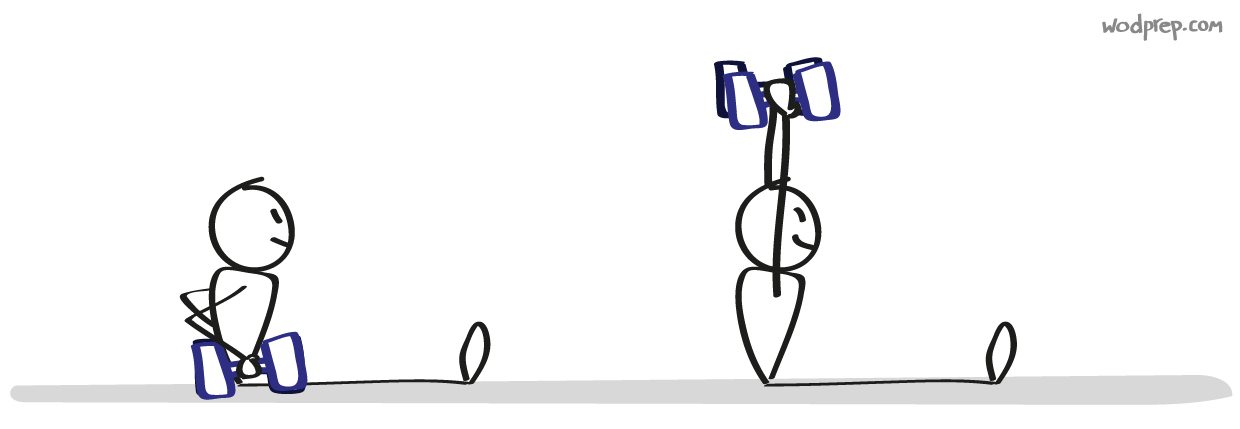
A progression for this to make it a bit harder is to add slow negatives into the seated press.
Once you lock out at the top, slowly lower the dumbbells back down to your shoulders (try counting 1, 2, 3 on the way down). This mimics the same movement as if you were upside down, lowering your head to the mat, and develops that exact same strength that you need for when you move to the wall!
Speaking of the wall – let’s head there.
#3. HSPU Progression: Handstand Holds
For the first drill on the wall, I would recommend first simply kicking up and practicing handstand holds on the wall for a few seconds at a period of time (working towards longer periods as you get more comfortable) or repeating a few sets of wall kick-ups, which helps you to get more comfortable with actually getting up onto the wall.
Once you get comfortable with being on the wall and have your bearings, we can start working on scaled HSPU’s.
#4. Scaled HSPU’s
The last HSPU progression drill is to actually do strict a handstand push-up on the wall, with ab mats or pads under your head to reduce the range of motion as much or as little as you may need.
Try first starting with three pads, and then reducing the number of pads based on your comfort and strength…. eventually working down to zero ab mats, which would be a strict HSPU!
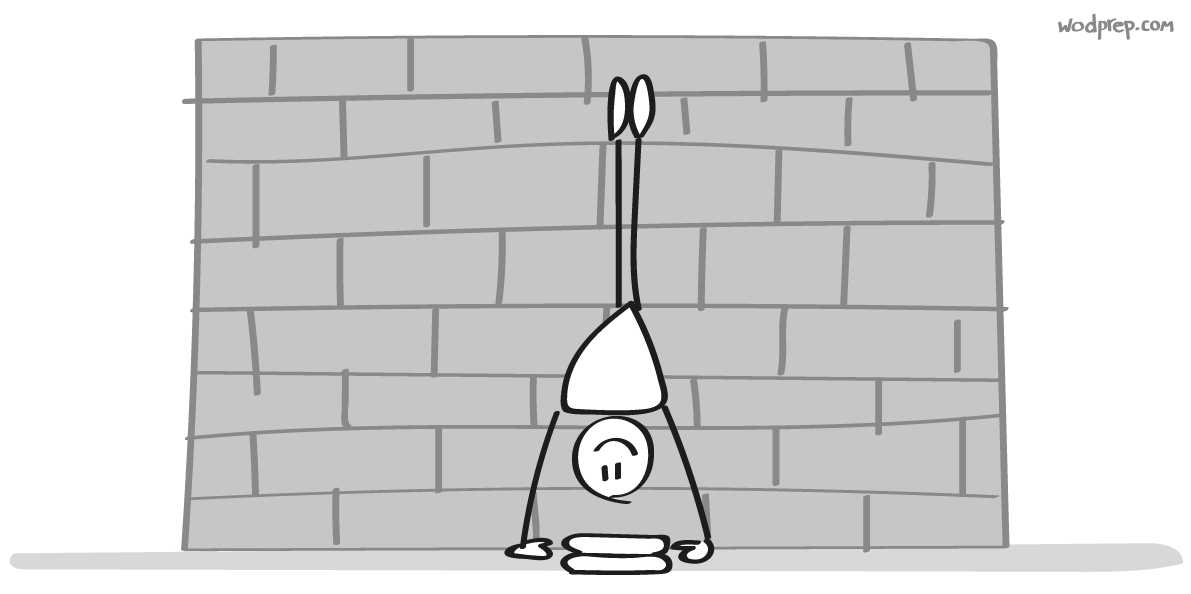
A key here (just like with the seated dumbbell presses) is to scale enough so that you can control the descent, and not just lower down completely uncontrolled (and likely slamming down onto your head).
Remember; strict HSPU’s before kipping is important, safe, and will help your strength game in the long run.
Conditioning
40min EMOM
15/12-Cal Bike
10-HSPU
50-Double Unders
10-Burpee to the bar
